Struggling with kitchen chaos and food waste? You’re not alone. Our top 10 kitchen hacks will transform your cooking routine, saving you time and reducing waste. Keep reading to make life in the kitchen a breeze!
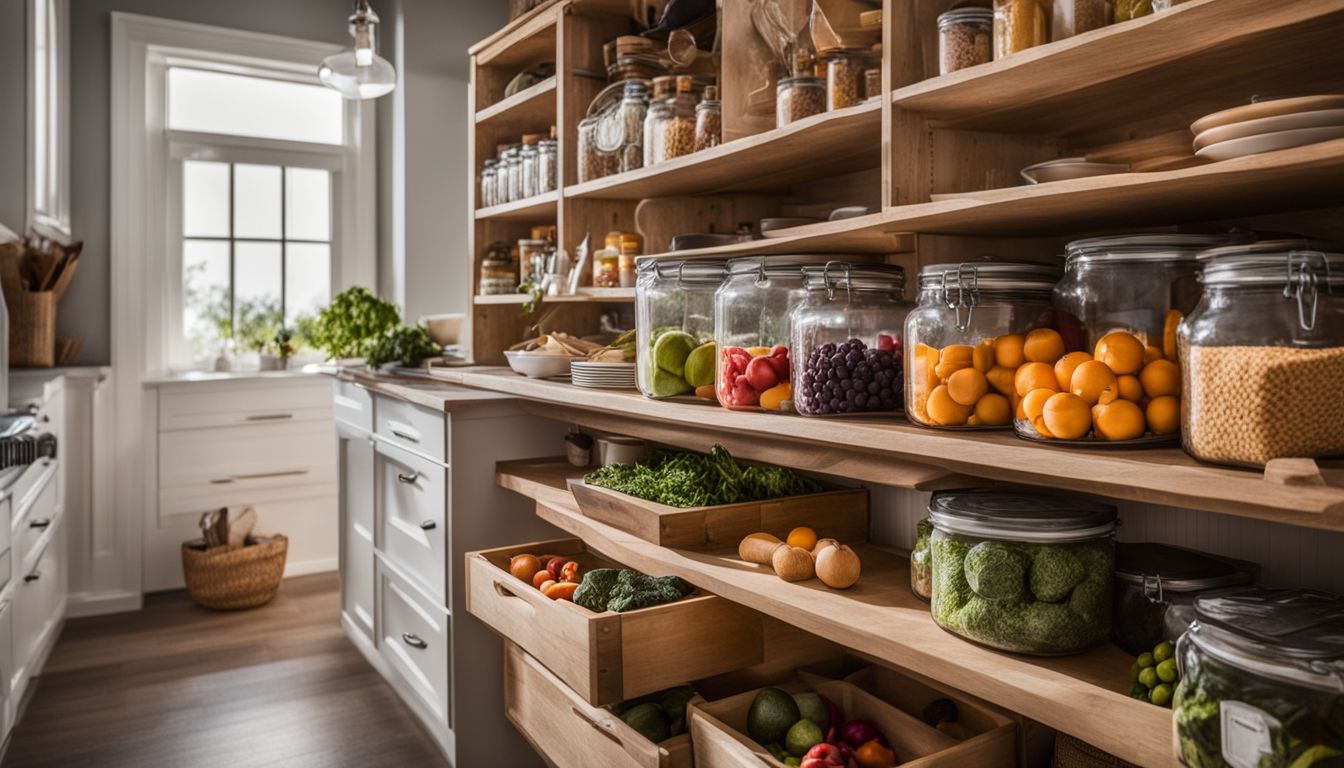
Keep your potatoes white by storing them with an apple, and extend the life of your bananas by wrapping their stems in plastic wrap. Prevent cut fruits from browning by soaking them in lemon juice or a saltwater solution, and maintain brown sugar’s softness with a slice of bread or marshmallows.
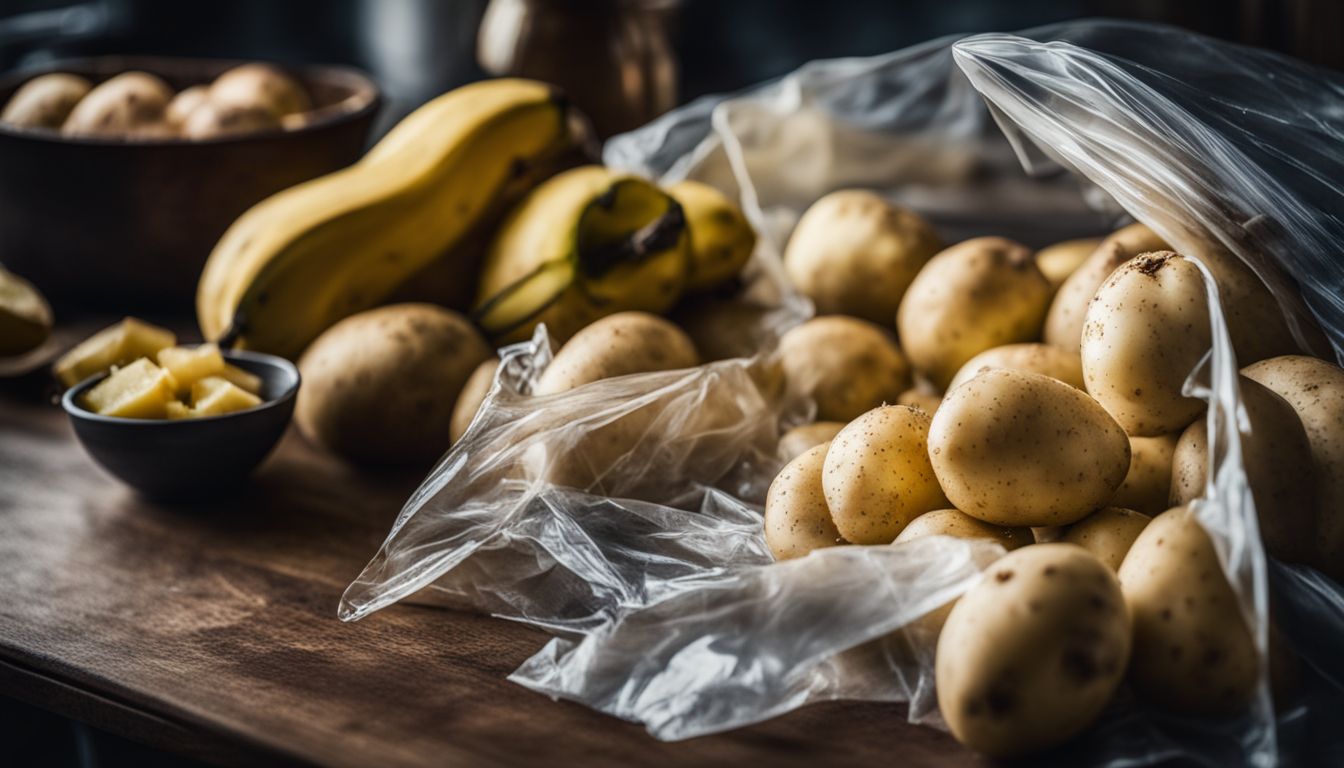
Storing your potatoes in a cool, dark spot can make a big difference. Make sure they have plenty of air around them and keep them far from onions to maintain their whiteness. For your bananas, take some plastic wrap and cover the stems; this simple trick slows down ripening so you can enjoy them at their peak freshness for days longer.
Bananas also benefit from a little space – separate them and find a cool dry place to delay those brown spots that nobody likes. And don’t wash your potatoes before it’s time to use them; doing so invites moisture that leads to early spoilage.
With these easy steps, you’ll avoid waste and always have fresh spuds and bananas ready for your next meal or snack!
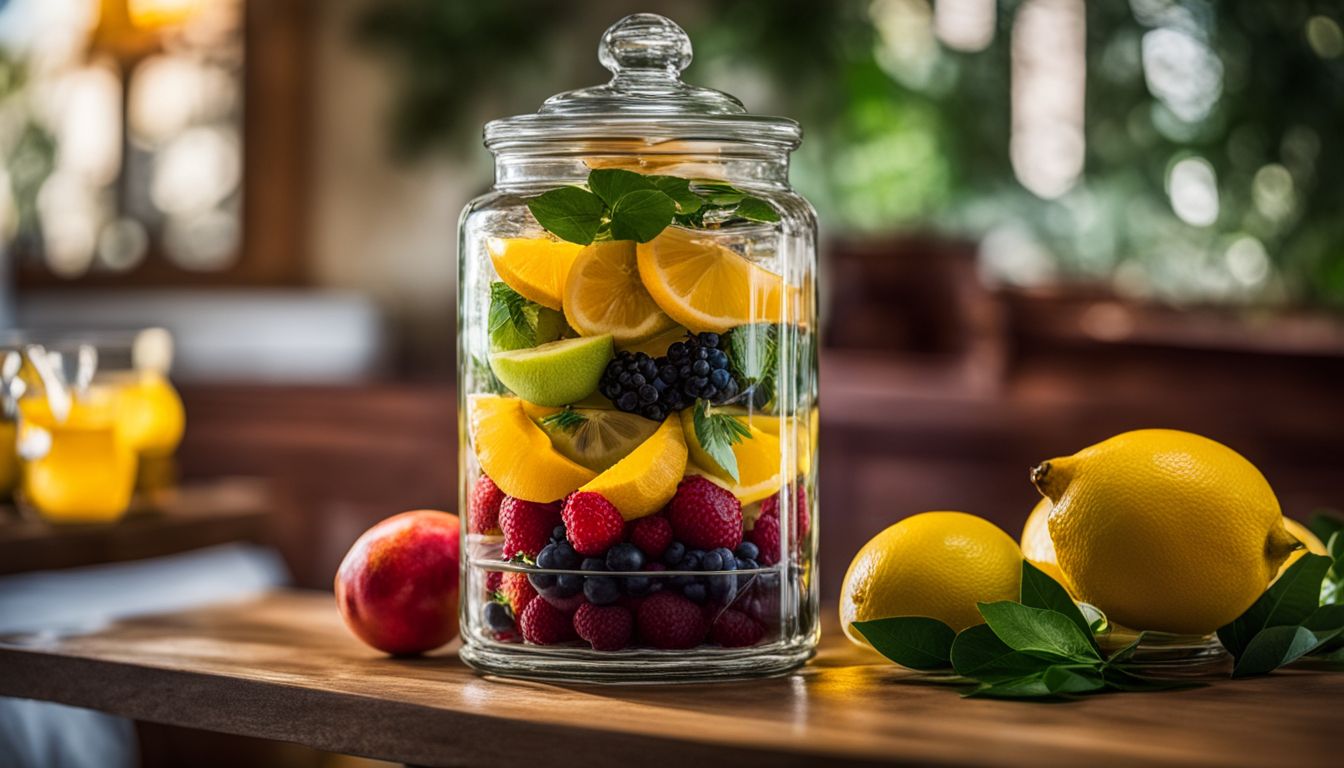
Just as your potatoes and bananas can enjoy an extended shelf-life, so can your freshly cut fruits avoid the dreaded browning. Soak them in a mixture of water with a splash of lemon juice to keep their colors vibrant and appealing.
The acid in the lemon acts like a shield, protecting the fruit from air that causes oxidation.
To make sure sliced apples, pears or peaches look just as good as when you first cut them, try dusting them with a bit of salt. This trick not only wards off discoloration but also enhances their natural flavors.
If you need to store these juicy treats for later use, seal them tight in an airtight container or wrap snugly with plastic wrap; it limits their exposure to oxygen and keeps browning at bay while maintaining freshness.
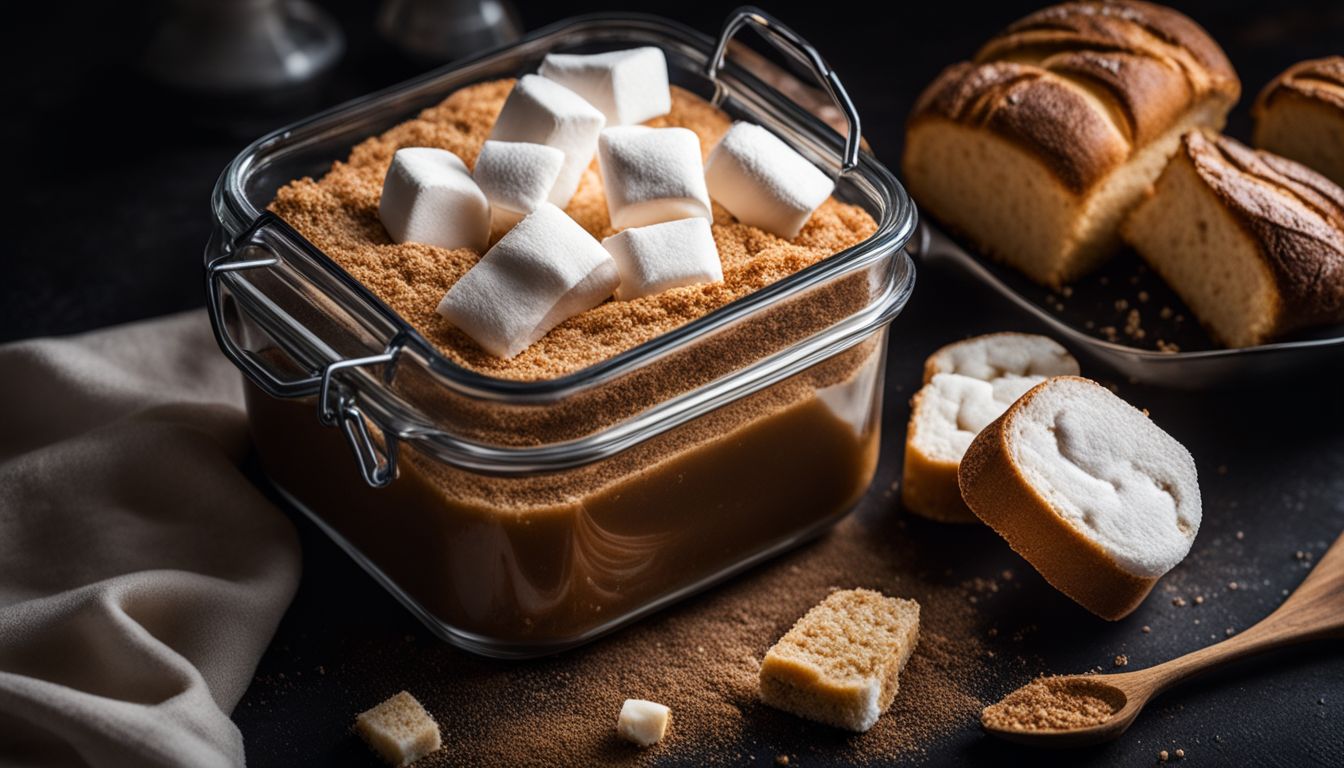
Keep your brown sugar soft and scoopable by sealing it in an airtight container. Stash the container in a cool, dark spot in your kitchen to protect it from hardening. To lock in moisture, toss a few marshmallows or a slice of fresh bread into the same container as your brown sugar; these items are like magic for maintaining that clump-free texture.
If you find yourself with rock-hard brown sugar before baking day, don’t panic! Try this quick fix: place a damp paper towel over the hardened sugar inside its container and microwave it briefly.
This will add just enough moisture back into your brown sugar to make it soft again. For long-term storage, consider keeping your brown sugar in the fridge or freezer—cold temperatures keep those grains loose and ready for action.
Or use a traditional terra cotta saver; soak it first then nestle it with your sweet stash to help fend off any brick-like fates.

Quickly peel garlic by placing a clove inside a small bowl and shaking vigorously for easy removal of the skin.

Peeling hard-boiled eggs can be a chore, with bits of shell sticking to the egg. But there’s an easier way! Crack open both ends of your boiled egg and then roll it gently across your cutting board.
The shell will start to loosen, making it easy to strip away in big pieces – not those frustrating tiny ones that stick.
To make this process even smoother, peel your eggs under a stream of cold water or after soaking them in ice water for a few minutes. The shock from the cold helps separate the membrane from the egg white, allowing for cleaner removal of the shell.
Say goodbye to picking off shards and hello to effortless snacking on perfectly peeled hard-boiled eggs!

After mastering the art of no-fuss eggshell removal, simplifying peeling and pitting will become a breeze. When dealing with garlic, simply place the cloves on a cutting board and gently press each one with the side of a knife to loosen the skin.
Once loosened, firmly grip each clove and pull off the skin without any hassle.
To save even more time, consider using freshly peeled garlic or preparing it in batches to have on hand whenever you need it for cooking. This quick and efficient method will make meal preparation easier and less time-consuming.

Prevent corn kernels from scattering all over the kitchen by using a mason jar as your guide. Simply place the narrow end of an ear of corn in the center hole of a mason jar lid and slice down with a sharp knife.
This will neatly catch the kernels without creating any mess, making it easy to collect them for use in recipes or for freezing.
For more precise control when removing kernels, cut off one end of an ear of corn before standing it upright on its now-flat end. Hold onto the top and run your knife straight down to shave off each row easily and effortlessly.
These simple methods are perfect for ensuring that you can enjoy delicious fresh corn without dealing with a messy cleanup afterwards.

Grate cheese without the mess, soften butter in record time, and measure sticky ingredients cleanly. Learn these kitchen hacks to save time and reduce waste!

To grate cheese without the clutter, use a quick spritz of cooking spray to prevent grated cheese from sticking to the grater. This simple trick will save time and minimize mess when preparing your favorite cheesy recipes.
The cooking spray creates a barrier between the grater and the cheese, making it easier to grate and clean up afterward.
If you struggle with messy cheese grating, this hack will be a game-changer in your kitchen. Say goodbye to frustrating clean-up and hello to effortless cheese preparation for all your culinary creations.

Grating or cutting butter into small pieces aids in softening it quickly, allowing you to use it right away for your baking needs. This method is especially handy when you forgot to take the butter out of the fridge ahead of time.
Simply grab a cheese grater or a sharp knife and cut the chilled butter into smaller chunks. These smaller pieces will reach room temperature faster than a whole stick, ensuring that your baking endeavor stays on schedule.
Once you’ve perfected the art of quick butter softening, we’ll move on to another essential kitchen hack: “Measuring sticky ingredients cleanly.”

After softening butter in record time, the next challenge is to measure sticky ingredients like honey or molasses cleanly. To make this process easier, spray your measuring tools with cooking spray before using them.
This will help the sticky ingredients slide out more easily and ensure a more accurate measurement. Additionally, tapping the measuring cup or spoon on the counter can also help release any remaining residue, giving you a precise measurement without any mess or waste.
When dealing with sticky ingredients such as honey and molasses, it’s important to ensure an accurate measurement without making a mess. A simple trick to achieve this is by spraying your measuring tools with cooking spray before use.

– Prevent pots from boiling over by placing a wooden spoon across the top of the pot.
To prevent pots from boiling over, place a wooden spoon across the top of the pot. This simple trick disrupts the formation of bubbles and prevents messy spills on your stovetop. Another useful tip is to use cooking spray on the rim of the pot before cooking sticky ingredients like honey or molasses, ensuring they slide out easily for precise measurements.
By implementing these clever hacks, you can maintain a tidy kitchen while saving time and effort during meal preparation. Next, let’s explore techniques for making a perfect poached egg and cutting brownies neatly without crumbs.
For a perfect poached egg, start by bringing a pot of water to a gentle simmer. Crack an egg into a small bowl or ramekin. Create a gentle whirlpool in the simmering water and carefully slide the egg into the center.
The swirling motion will help the egg whites wrap around the yolk for that perfectly shaped poached egg. Let it cook for about 3-4 minutes until the white is set but the yolk remains soft.
Use a slotted spoon to lift out the poached egg and drain any excess water before serving over toast or with other brunch favorites.
Perfectly poaching eggs doesn’t have to be daunting – adding vinegar (about 1 tablespoon per quart of water) can help keep the whites together if you’re worried about them spreading too much in their early moments in hot water.
Grease the baking pan and line it with parchment paper to cut brownies without crumbs and in neat slices. To achieve cleaner, more uniform cuts, allow the brownies to cool completely before slicing.
Using a sharp knife and cleaning it between each cut can help to achieve clean, precise slices. Incorporating a ruler to measure and guide the cuts can result in evenly sized brownie portions.
If you’re looking for an alternative method, chilling the brownies in the refrigerator for a short period before cutting can make the process easier and reduce crumbling.

Revive leftover vegetables in a stir-fry or soup for a quick and delicious meal, and use the microwave to reheat pasta without it turning mushy.
Revive leftovers by transforming them into new, exciting dishes like casseroles or frittatas to cut down on waste. Shape leftover pasta into a donut for even reheating in the microwave, ensuring no cold spots.
Freeze fresh herbs in ice cube trays or muffin tins for later use, reducing waste and ensuring fresh flavor when needed.
Resurrecting yesterday’s bread or pizza is easy with a little know-how. To revive stale bread, wrap it in a damp paper towel and microwave for 10-20 seconds per slice to restore its softness.
For pizza, reheating in the microwave with a cup of water can prevent sogginess, or use the oven for a quick crisp-up at 375°F for about 10 minutes. Shaping leftover pasta into a donut will help it reheat more evenly in the microwave.
These tricks ensure that your leftovers taste just as delectable as when they were freshly made.

Preserving fresh herbs by freezing them in olive oil or water in ice cube trays.
To preserve fresh herbs for later use, consider freezing them in ice cube trays or muffin tins with a little water or olive oil. This method allows you to have readily available portions of herbs for your cooking needs.
Alternatively, storing fresh herbs upright in a glass of water and covering them with a plastic bag can also keep them fresh for up to two weeks, providing easy access to the flavors they offer when you need them most.
These simple techniques help extend the shelf life of your herbs, ensuring that you always have their delightful essence at hand for your culinary creations.
Transitioning from preserving fresh herbs to saving time and reducing waste, freezing single servings for easy use is a convenient kitchen hack. Freezing single servings of sauces in egg cartons is an efficient way to have ready-to-use portions for future meals.
Additionally, freezing soup starters can save time and reduce waste by having pre-prepared ingredients on hand for quick and easy meals.
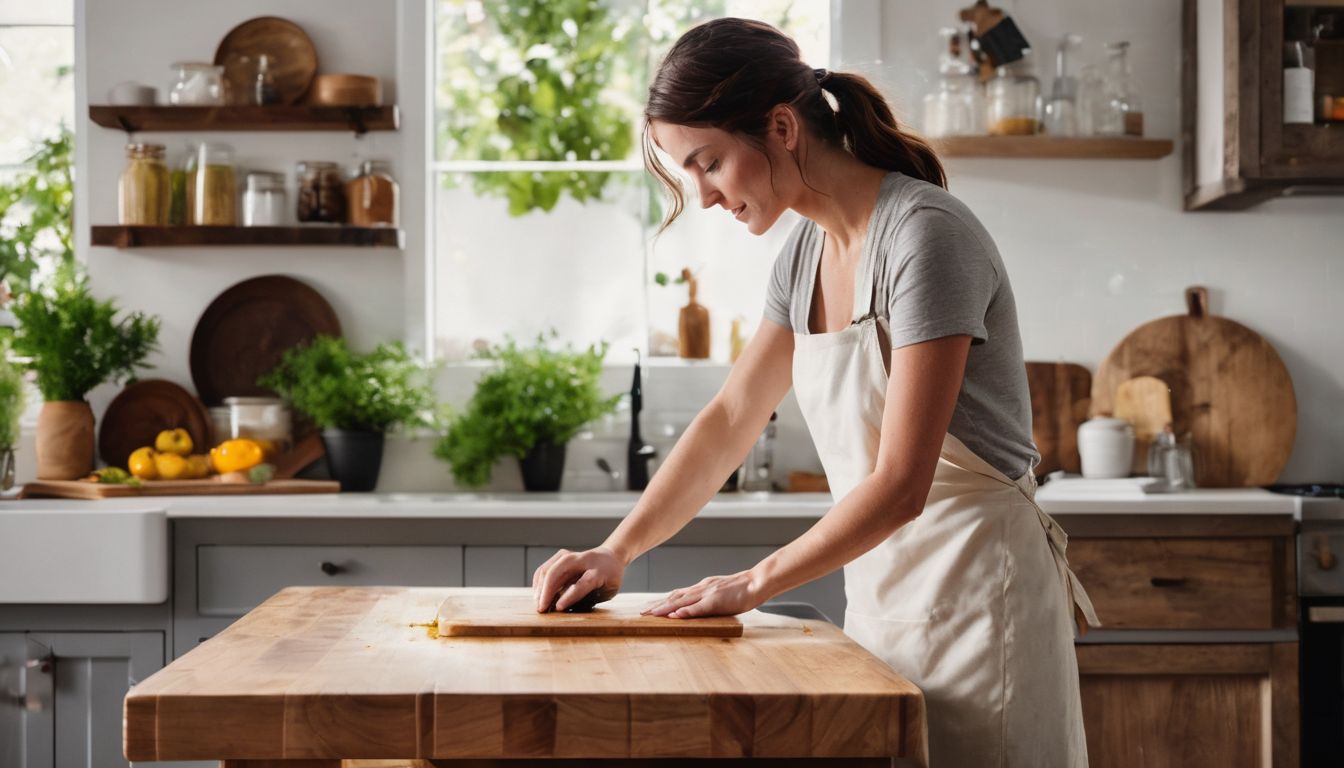
“Use a mixture of coarse salt and vegetable oil to clean and preserve the surface of your wooden cutting boards, keeping them pristine for years to come.”
To clean cast iron skillets and keep them rust-free, scrub them with a mild abrasive and hot water. Dry thoroughly to avoid moisture causing rust. Apply a thin layer of oil after cleaning to protect the skillet from corrosion.
Regularly season your cast-iron pans by heating them in an oven at 350°F for an hour while applying a thin coating of vegetable oil. This process maintains the non-stick surface and prevents rusting.
To maintain the pristine condition of wooden cutting boards, regularly clean them with coarse salt and half a lemon. Additionally, it’s important to condition the cutting boards with food-grade mineral oil once a month.
Placing a damp dish towel underneath the board will prevent slipping during use.
To keep wooden cutting boards pristine, incorporate regular cleaning and conditioning with food-grade mineral oil. Prevent slipping by placing a damp dish towel underneath the board while in use.

Store raw meats on the lowest shelf of the fridge to prevent cross-contamination with other foods. Use separate cutting boards for meat and produce, and regularly sharpen your knives to ensure safe and efficient food preparation.
To combat cross-contamination in the kitchen, it’s crucial to keep raw meats separate from ready-to-eat foods and use different cutting boards for each. Ensure thorough cleaning between uses and consider color-coding or labeling boards to prevent mix-ups.
Additionally, implement a strict hand-washing routine before and after handling different types of foods, including fruits and vegetables. Store raw meats on the lowest shelf of the refrigerator to prevent any drips or leaks onto other items, keeping them in tightly sealed containers to contain any potential bacteria.
Another effective method is dedicating specific utensils for different types of food – using separate knives for meat, fish, and produce ensures that they don’t cross-contaminate. Furthermore, regularly sanitizing countertops and cooking surfaces with a mixture of vinegar and water helps eliminate potential pathogens that can lead to foodborne illness.
Transitioning from combating cross-contamination to ensuring knife safety, it’s crucial for home cooks to maintain sharp and safe knives. A blunt knife can slip while cutting, causing accidents.
To keep knives in good condition, using a ruler as a guiding tool for shaping and sealing frozen foods can prevent dulling the blades. Softening butter quickly with a sharp knife not only saves time but also reduces the risk of accidents and helps maintain sharpness.
Additionally, installing hooks on the inside of kitchen cabinets ensures that knives are safely stored and organized, preventing unnecessary handling that could result in nicks or damage to the blade.
Placing a damp paper or cloth towel under a cutting board prevents it from moving around while using a knife, enhancing both safety and efficiency during food preparation. Furthermore, utilizing cooking spray can help prevent food from sticking to knives during use, preserving their sharpness longer.
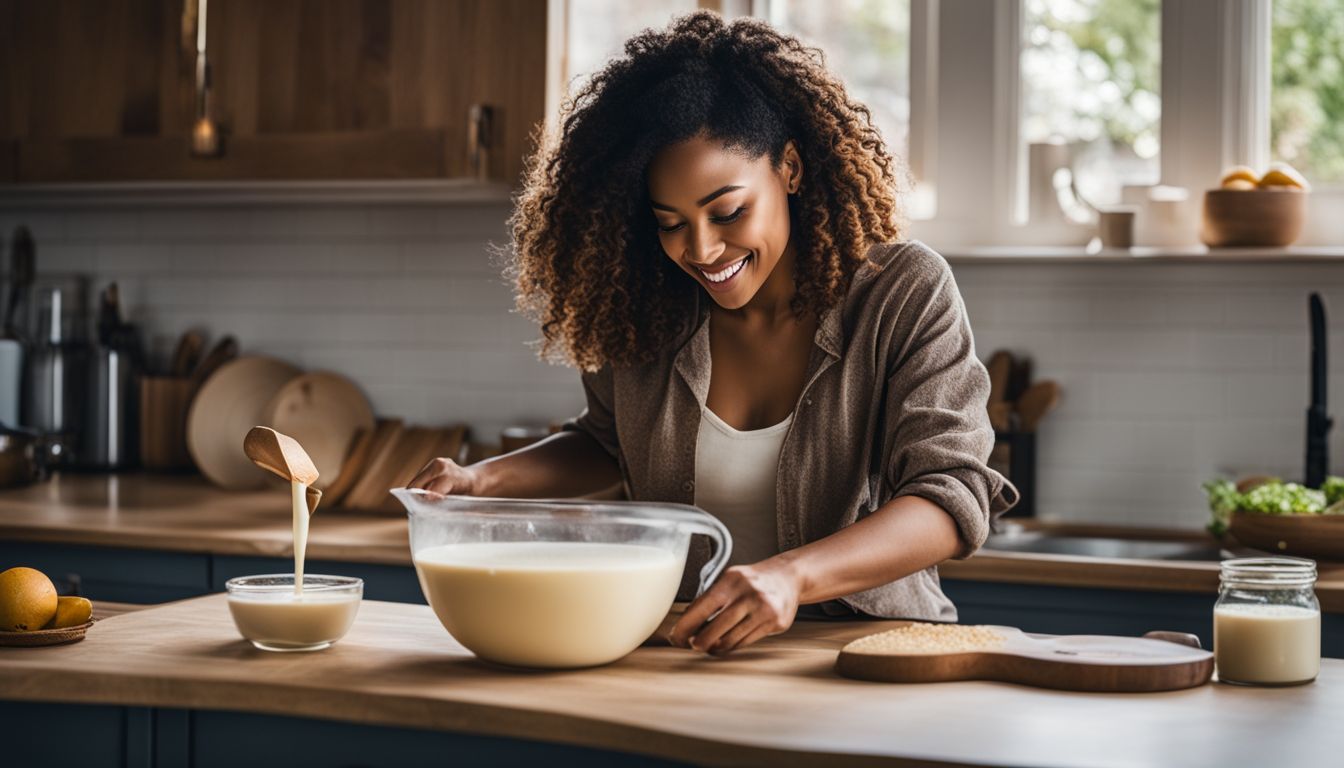
“Substitute buttermilk by mixing 1 cup of milk with 1 tablespoon of lemon juice or vinegar, then let it sit for 5 minutes before using.”
You can easily make a substitute for buttermilk by adding one tablespoon of vinegar or lemon juice to one cup of regular milk. The acid will curdle the milk, creating a tangy flavor similar to buttermilk.
This hack is especially useful when you’re in the middle of baking and realize you’re out of buttermilk. Not only does this trick save you time and an extra trip to the store, but it also helps maintain the desired texture and flavor in your recipes.
By utilizing ingredients already in your kitchen, this simple buttermilk substitute not only saves time and reduces waste but also ensures that you can keep on cooking without any interruptions due to missing ingredients.
A bundt pan is a useful tool for cleanly removing corn kernels from the cob. This simple trick helps to contain the mess and prevents the kernels from scattering all over the kitchen.
By using a bundt pan, you can swiftly slide the cob into the center hole of the pan and then slice off the kernels with a knife. This method ensures that you have neatly cut corn ready for use without any hassle.
The bundt pan technique allows for easy collection of corn, keeping your workspace clean and reducing waste. It’s a handy hack that simplifies this task and makes preparing fresh corn much more efficient.
Transitioning from cutting corn off the cob neatly, another helpful kitchen hack is the wooden spoon trick to prevent boiling over. Simply place a wooden spoon across the top of a pot to stop it from bubbling over while cooking.
The natural oils in wood create a barrier that disrupts the formation of bubbles and reduces surface tension, preventing messy spills on your stovetop. This simple and effective tip will be a game-changer for home cooks dealing with pots prone to overflowing.
Transitioning from preventing pots from boiling over to efficiently juicing lemons, a simple and effective kitchen hack involves maximizing the juice extracted with minimal effort.
By microwaving the lemon for 7-10 seconds and then rolling it under the palm on the counter, you can extract more juice without exerting too much force. This practical approach not only saves time but also ensures that you get the most out of each lemon, making it an essential trick for any home cook.
Refrigerating and microwaving lemons before squeezing can also help maximize the amount of juice extracted, adding convenience to your kitchen routine.

In conclusion, these kitchen hacks offer simple solutions to common cooking and food storage challenges. By following these time-saving tips, you can reduce waste and make the most of your ingredients.
Whether it’s preserving fresh herbs or preventing pots from boiling over, these hacks will streamline your cooking routine. Embrace these practical techniques to enhance efficiency in the kitchen and elevate your culinary skills effortlessly!