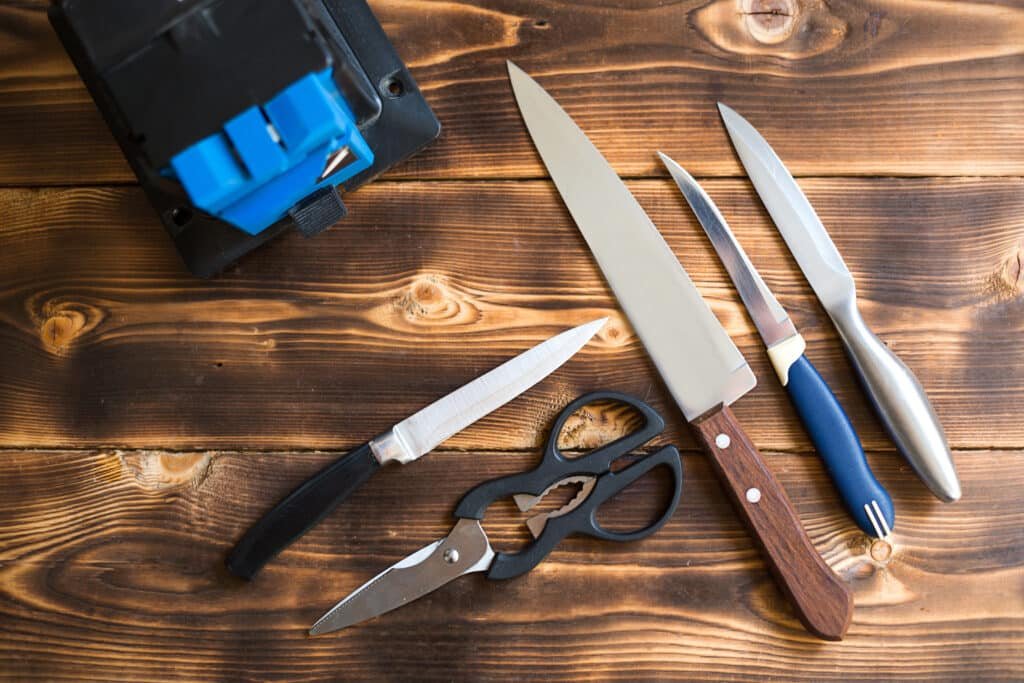
Do you cringe every time you slice a tomato, frustrated at the effort it takes to pierce through the skin, only to end up squashing it instead of slicing it neatly? Are your knife-wielding skills being compromised by a kitchen tool that has seen better days? Want to learn how to sharpen kitchen knives like a pro? Worry not, dear readers, for we have the perfect solution to unleash your inner Gordon Ramsay and revolutionize your kitchen experience!
When it comes to preparing delicious meals, a key ingredient that often goes overlooked is the sharpness of your knives. After all, the mastery of the culinary arts begins with having the right tools. In today’s post, we’re going to guide you on how to bring that edge back to your kitchen knives, making short work of those pesky onions and effortlessly creating smooth, clean cuts on your favorite meats and veggies. Say goodbye to your dull days and hello to a kitchen renaissance with your sharpened knives leading the charge!
Keeping your kitchen knives sharp is essential for both safety and efficiency in the kitchen. A dull knife requires more force to use, which increases the risk of slipping off the food and potentially causing harm to your hand. In contrast, a sharp knife glides through ingredients with ease, ensuring precise cuts and reducing the effort needed in cooking tasks.
Moreover, maintaining a sharp knife edge helps to preserve its overall condition which can extend its lifespan. Regular honing can prevent serious blade damage, while occasional sharpening ensures that the blade retains its optimal cutting performance. It is important to be comfortable and familiar with your chosen method of knife sharpening, whether that be using a manual or electric sharpener or even a traditional sharpening stone.

In conclusion, sharpening kitchen knives regularly not only makes the cooking experience faster and safer but also increases the longevity of your knives. Investing time and care in maintaining sharp kitchen knives is an essential aspect of being a proficient home cook. [1][2]
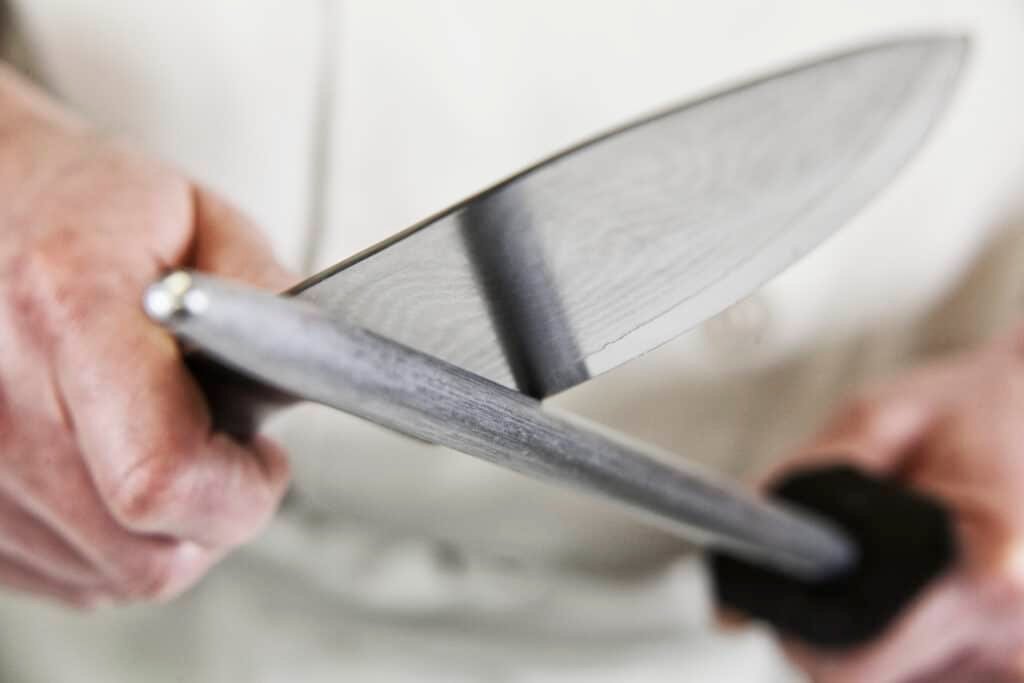
Understanding the key differences between honing and sharpening knives is essential to maintaining optimal performance and longevity of your kitchen tools. While both methods improve knife functionality, they serve distinct purposes and require different techniques. Honing realigns the existing edge of a knife, typically involving a honing rod such as ceramic, diamond, or steel. This process is quick and should be performed regularly, following each use or as needed, to maintain a sharp blade.

In contrast, sharpening creates an entirely new edge by removing material from the blade, often using a whetstone, manual, or electric sharpener. This process is more time-consuming and typically required every six to twelve months, depending on blade quality and usage. To ensure the best performance and extended lifespan for your knives, it is crucial to utilize both honing and sharpening methods as needed. [3][4]
If you’re looking to keep your kitchen knives razor-sharp, it is crucial to invest in a reliable knife sharpener. There are three popular types to choose from, each with unique features and suited for different preferences.
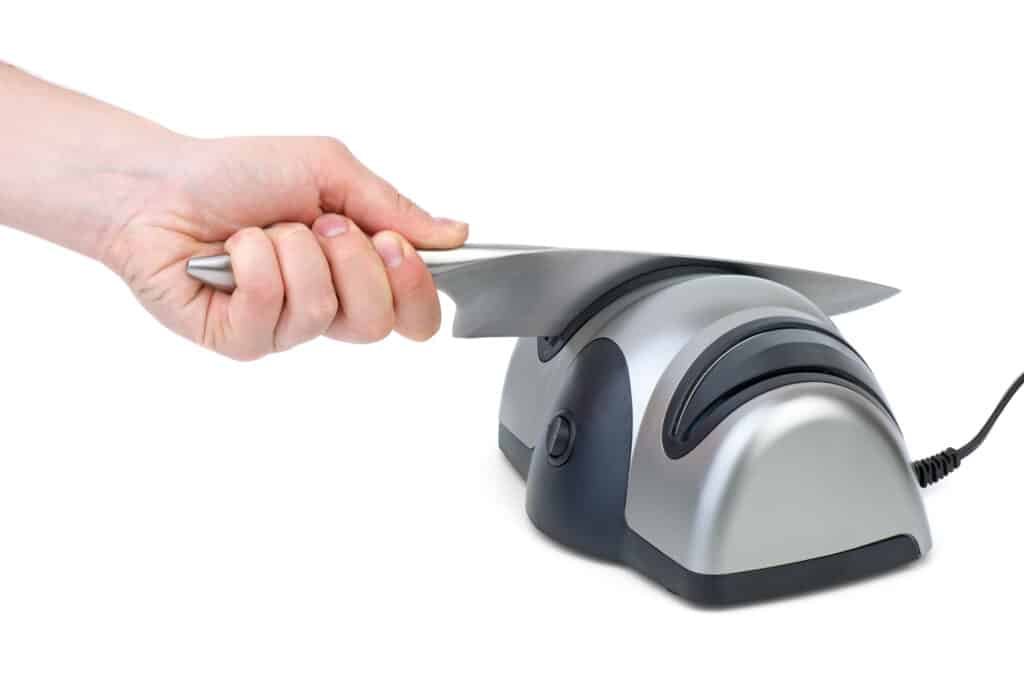
Firstly, electric knife sharpeners are designed for convenience and ease of use. They typically feature spinning sharpening stones and a guide to achieve the perfect angle. These sharpeners come in two main styles: standard and heavy-duty, with the latter intended for frequent use in professional kitchens.
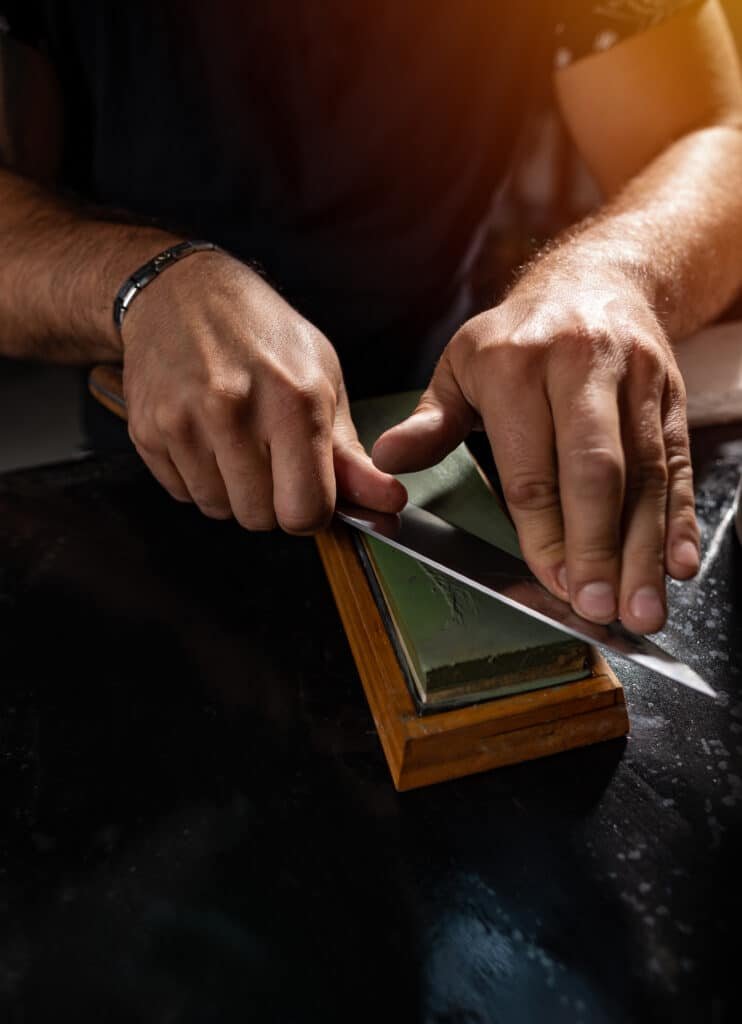
Secondly, sharpening stones (also known as whetstones) use their abrasive surface to hone knives. They can be made from natural materials like novaculite, or artificial materials such as aluminum oxide and silicon carbide. Different grit sizes cater to various sharpening needs, from coarse to fine.
Lastly, handheld knife sharpeners offer a portable solution, ideal for chefs on-the-go or those with limited storage space. They come in two types: traditional handheld sharpeners and serrated knife sharpeners. While the former provides more autonomy over the sharpening process, the latter is specifically designed for serrated knives, helping maintain their unique edges without causing damage.
Choosing the right knife sharpener ultimately depends on your specific needs, kitchen environment, and personal preferences, but knowing the three popular options can help you make an informed decision. [5][6]
Sharpening kitchen knives with a tabletop sharpener is a quick and efficient method to maintain the sharpness of your blades. This simple device, also known as a pull-through or V-sharpener, typically features a handle and two to three slits, each marked for coarse to fine sharpening, and ensures your knives are always ready for use. To utilize a tabletop sharpener, first hone your knife with a honing steel to realign the blade’s edge. If skipped, misalignment may occur.

Next, place the sharpener on a flat surface such as a counter or table. Hold the handle securely and insert the knife blade into the coarsest slot, applying gentle pressure while pulling it through in a smooth movement. Repeat this process a few times, moving to finer slots as needed. Remember that a sharp knife is not only more efficient but also safer to use. Investing in a tabletop sharpener and regularly maintaining your knives will positively impact both your cooking experience and the longevity of your kitchen tools. [7][8]
Honing your kitchen knives is an essential part of maintaining their sharpness and prolonging their lifespan. A honing steel, also known as a honing rod, is a tool specifically designed to help keep your knives in optimal cutting condition. Here are five easy steps to using a honing steel to hone your knives:
1. Choose a high-quality honing steel with fine, consistent grooves along the rod, preferably at least 9 inches long. Hold the honing steel handle in your non-dominant hand and place the tip on a cutting board.
2. Determine the right angle for your knife, usually between 20-40 degrees. Hold the knife at this angle against the top of the honing steel.
3. Apply gentle pressure and slide the knife down the length of the honing steel while maintaining the angle, from the heel to the tip of the knife blade.
4. Repeat the honing process on both sides of the knife, typically 3 to 5 strokes per side, depending on how much honing is needed.
5. Test the sharpness of your knife by slicing through a sheet of paper. A perfectly honed knife should cut cleanly without bending or shredding the paper. If necessary, re-hone or sharpen the knife as needed.
Remember to regularly hone your knives, preferably before or after each use, to maintain their cutting performance and prolong their lifespan. [9][10]
Taking good care of your kitchen knives is essential for maintaining their sharpness, durability, and overall performance. Here are six useful tips for proper knife care, cleaning, and storage:
1. Sharpen regularly: Keep your knives sharp by using a sharpening stone, manual or electric sharpener, or a honing steel. A well-sharpened knife requires less force and is therefore safer to use.
2. Choose the right cutting surface: Opt for wood, bamboo, or plastic cutting boards, as they are soft and forgiving on your blades. Avoid hard surfaces like stone, metal, glass, or acrylic, as they can damage the blade’s edge.
3. Clean promptly and properly: Always clean your knives immediately after use with mild dish detergent, hot water, and a long-handled brush. Avoid soaking your knives in water, and never put them in the dishwasher, as it can damage the blade.
4. Dry thoroughly: Dry your knives carefully with a soft cloth or paper towel immediately after washing to prevent water spots and potential rusting.
5. Store safely: When not in use, store your knives in a knife block, on a magnetic strip, or in a designated knife drawer to keep them safe and easily accessible.
6. Handle with care: Use smooth cutting motions instead of slamming the blade against the cutting board, and use the spine of the knife to clear food from the cutting surface. Taking care of your knives will ensure they remain a reliable and safe tool in your kitchen for years to come. [11][12]

1. Sharpening removes too much material: Sharpening, when done correctly, removes only the necessary amount of material to restore the edge. Over-sharpening happens when you use excessive force or incorrect techniques.
2. You must sharpen knives frequently: Depending on your knife usage and care, you may not need to sharpen your knives too often. Honing the blade regularly with a honing rod can maintain its sharpness for a longer period.
3. All knives require the same sharpening angle: The sharpening angle varies depending on the knife’s purpose and the type of steel used. It’s essential to know the appropriate angle for your specific knife before sharpening.
4. A sharp knife causes more accidents: Contrary to this belief, a sharp knife is safer, as it requires less force and allows for more control when cutting, reducing the chances of accidents.
5. Only professionals can sharpen knives: With practice and the use of proper tools, anyone can learn to sharpen knives effectively.
6. Electric sharpeners are bad for knives: Electric sharpeners are convenient and can be used for most everyday knives. However, they may not always be suitable for high-quality or Japanese knives.
7. A sharpening steel will sharpen your knife: A sharpening steel is primarily used for honing the edge rather than sharpening it. To sharpen a dull knife, you need to use a whetstone or an appropriate sharpener. [13][14]
As a home chef, it’s crucial to keep your kitchen knives sharp for efficient and safe cooking. Here are eight signs that indicate your knives need sharpening:
1. Difficulty in slicing: If your knife struggles to slice through soft produce like tomatoes or herbs with clean cuts, it’s time for sharpening.
2. Tearing meat: When you slice meat and it gets torn instead of cleanly cut, it’s a sign of a dull blade.
3. Light reflections: Hold your knife edge up towards a light source, and if you see any light reflecting off the edge, it’s likely dull.
4. Slipping on the fingernail test: Gently tap your knife8. Signs Your Kitchen Knives Need Sharpening
Does your kitchen knife feel more like a butterknife when slicing through ingredients? If so, it’s time to sharpen those blades. Here are eight signs that your kitchen knives need sharpening:
1. Difficulty Cutting: If you’re struggling to slice through vegetables, fruits, or meats, it’s a clear indication that your knife needs sharpening.
2. Visible Nicks and Chips: Inspect the blade for any visible damage like nicks and chips; these imperfections will hinder your knife’s cutting capability.
3. Slipping on Wet Surfaces: Dull knives are more likely to slip when cutting through wet or slippery ingredients, increasing the chances of an accident.
4. Squishing Food: If chopping soft foods like tomatoes results in more squishing than slicing, it’s time to sharpen your knife.
5. Uneven Cuts: Struggling to make precise, even cuts? A sharp knife makes all the difference.
6. Reflective Edge: A sharp blade should not reflect light at the edge; if it does, it’s a sign that your knife is dull.
7. Fingernail Test: Gently press the blade edge against your fingernail. If it bites into the nail without sliding, the knife is sharp. If it slides, it’s time to sharpen.
8. Tomato Test: Try slicing a tomato with minimal pressure. If the knife struggles to break the skin, it’s definitely dull.
Remember that keeping your kitchen knives sharp not only makes food preparation more enjoyable but also ensures a safer cooking experience. [15][16]
Testing your knife’s sharpness is crucial for ensuring a safe and efficient cooking experience. There are several methods you can use to test your knife’s sharpness to guarantee optimal performance. One popular method is the paper test, where you hold a piece of office paper, slide the knife’s blade downwards, and observe if it creates a clean slice. If the knife tears or pulls at the paper, it is likely dull and needs sharpening.
Another method is the visual inspection. Hold the knife against a bright light, and look for any visible chips, nicks or reflections, which might indicate a dull blade. You can also use a microscope or magnifying software to inspect the knife’s edge closely for any imperfections.
You can also perform the tomato or onion test, where you attempt to cut through the fruit or vegetable with little to no pressure. A sharp knife should easily slice through, while a dull blade may crush or struggle to cut the produce. Test your knife’s sharpness regularly to ensure you’re working with a safe, efficient tool in the kitchen. [17][18]
In any kitchen, whether at home or in a professional setting, maintaining sharp and well-maintained knives is crucial for efficient meal preparation and personal safety. Ensuring that knives are sharpened regularly is one of the most important steps in securing a safe working environment, as dull knives require more force when cutting, thus increasing the risk of slips and accidents. When it comes to sharpening knives, certain precautions must be taken to guarantee the process is handled safely and effectively.
To begin with, one must choose the appropriate sharpening tool, such as a manual or electric knife sharpener, or a sharpening stone. These tools are specifically designed to sharpen knives at the correct angle, restoring their original sharpness and maintaining a precise cutting edge. Additionally, following the correct sharpening technique is vital to ensure the blade is honed evenly, resulting in a smooth and safe cutting experience.
Moreover, regular maintenance of kitchen knives through honing can prevent substantial wear or damage, prolonging their usability and safeguarding the well-being of those using them. Overall, treating knife sharpening with care and consideration can significantly reduce the risk of injury, while simultaneously preserving the performance and longevity of kitchen knives. [19][20]